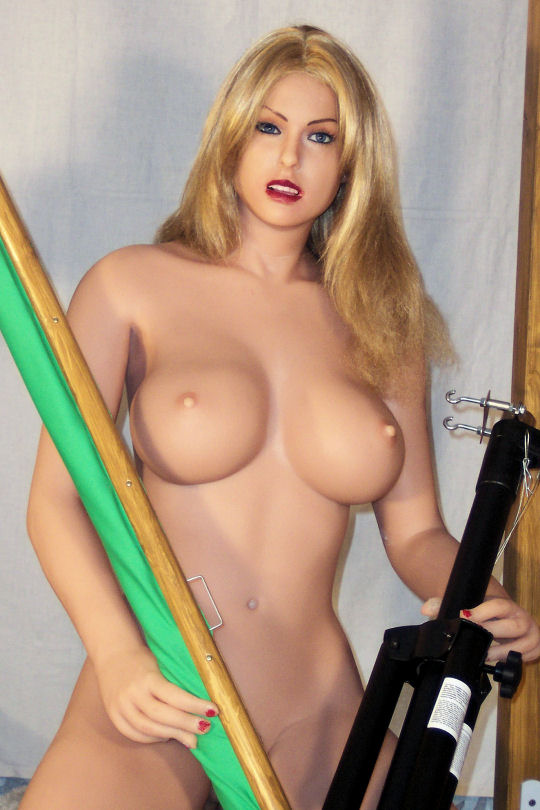
The Chromakey-Wall
 With a chromakey-wall you can take
photos of your Doll in many poses and afterwards before real
or virtual backgrounds.
Are you looking for a chromakey wall, you will hit again and again at
the chromakey cloth of Pinnacle Systems Inc.
Certainly, there are the chromakey cloth of Pinnacle Systems
Inc. and cloths of other manufacturers, even complete walls with
frameworks and tripods. But: With the Pinnacle cloth you have chosen a
very affordable variation.
The measurements of the Pinnacle cloth is approximately 1,85
× 1,55 m² (≈ 5 ft × 6 ft). It is
completely sufficient with it for the conditions, under which the Doll
is photographed mostly. Now, the problem exists to be able to hang up
this cloth with a matching pillar.
As first, a tripod with a working height of approximately 1,20 m (4 ft)
to approximately 2,10 m (7 ft) is required. Further are four
semicircle-slats required (here from a length of 1,60 m, 63 inches),
two are used for the fixation and the others for the face-lift
of the chromakey cloth, as well as some small parts of the suspension
of the complete wall at the tripod, that is in the toolbox or in the
own do-it-yourself-workshop somewhere surely. To add on top
of this for each slat nine lens countersunk wood screws, size
3×16, that serve the fixation of the chromakey wall.
All required parts are summarized in the parts list.
First, the two clamps are mounted at the tripod with the hexagon head
screws. Then, the screw thread-husks are screwed on and are
tightened with counternuts. At these, the too open hooking sawed open
ring-screws are screwed on and is also tightened with counternuts.
To the suspension, one piece of steel-wire is bent that it is suited to
the suspension and can be in-pressed in the middle of one of the
semicircle-slats.
All wooden parts shall be drilled as it is described in the
treatment-drawing. Two of the slats are one on the other-put so that
seeing the outer drilling is left. The outer drilling of the rear one
is right. In the middle of the rear semicircle-slat use the bented
component. Into these outer drillings is in-turned to the fixation two
lens countersunk wood screws. Then, the chromakey cloth
is pushed in at the narrower side between the slats, with what
keeping an eye on it is, that no pleats refine. Now, the remaining lens
countersunk wood screws can turned in and all are
tightened. In same way is to be proceeded with the other slat-pair
(„below”).
If all wood screws are tightened, you can be hung the chromakey wall on
the tripod for a test.
Here are some detail presentations:
Parts
list of the entire chromakey wall
Treatment
drawing of the wooden parts
Picture gallery of the chromakey wall
To display the drawing the Adobe Reader needed.

© 2008 www.realdoll-uta.de
 With a chromakey-wall you can take
photos of your Doll in many poses and afterwards before real
or virtual backgrounds.